A couple of years ago I had the opportunity to see an exhibit of Henri Matisse’s cut-outs at the Tate Modern Museum. It was one of the most inspiring exhibits that I have been to in many years. The exhibit showcased Matisse’s large scale cut-outs, the range of his painted color papers, and even some of his colored glass cut-outs. I’ve seen Henri Matisse’s cut-outs before in text books and magazines, but to see it in person was such a different, dramatic, perhaps even life altering experience for me. Everything was inspiring: the shapes, the colors, the compositions. I loved it all. Since that exhibit I have wanted to make something inspired by his cut-outs, but I didn’t know exactly how or what I should do.

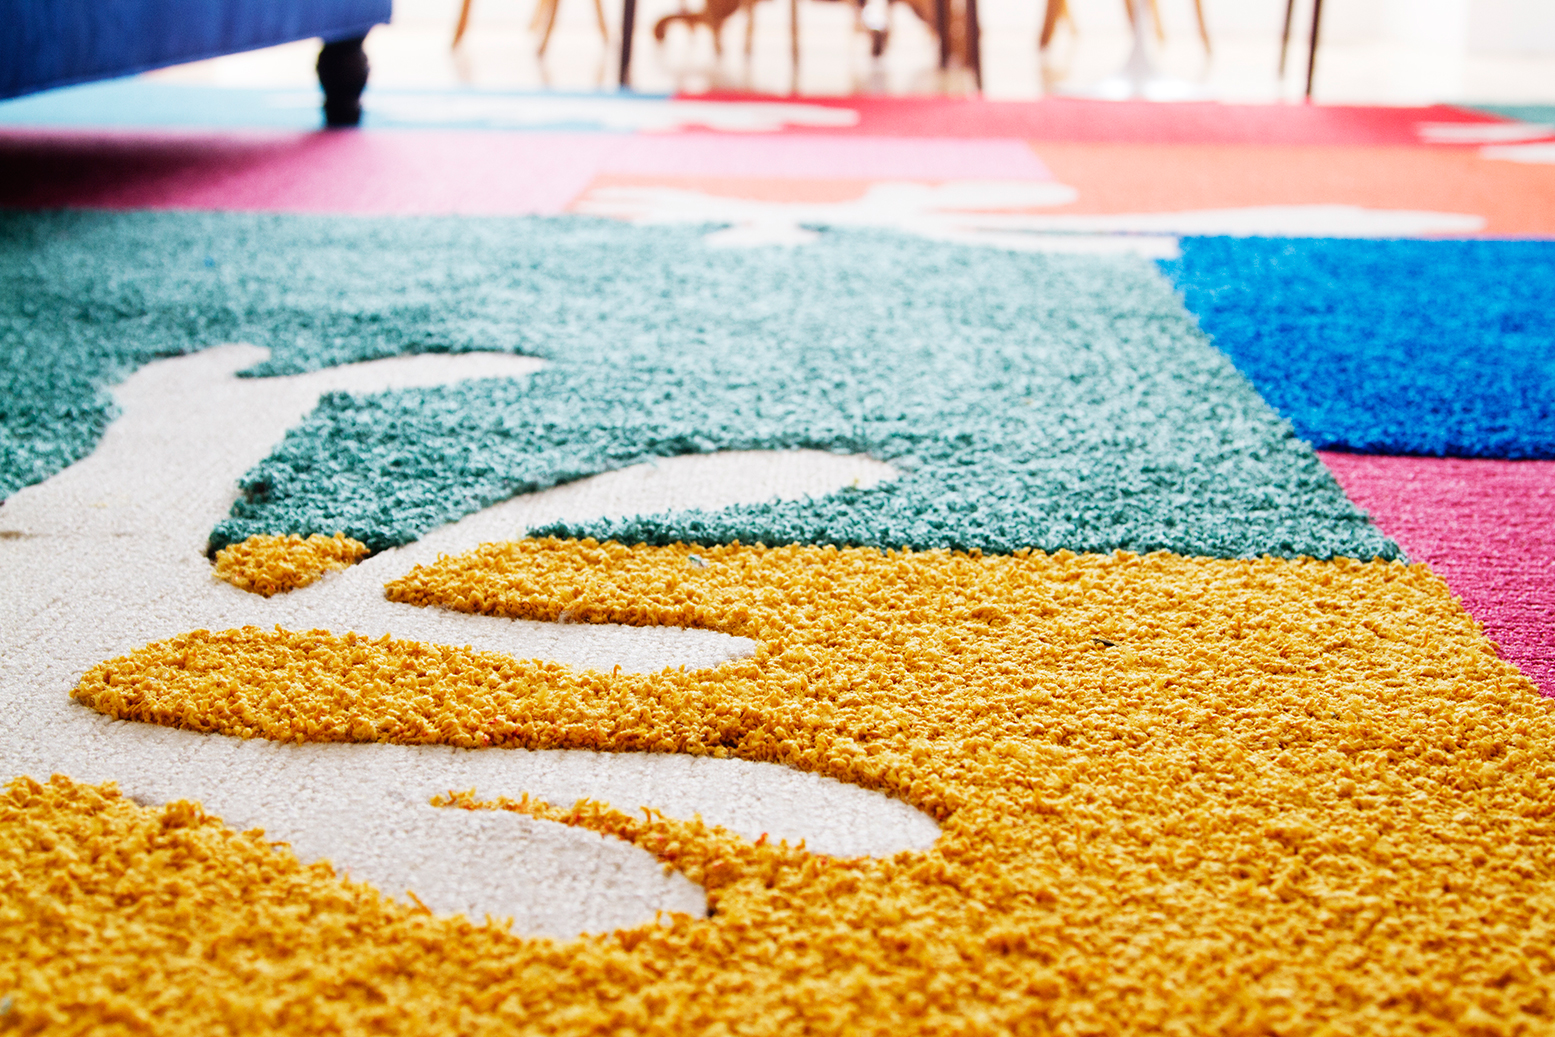
I often enjoy changing things around in my home, especially with the change of season. My living room was feeling a bit too monochromatic and wintery. So, I decided to give it a shot of color and decided to make a Matisse cut-out rug. FLOR tiles were the obvious choice to use for the Matisse rug. I love FLOR tiles. They are really easy to use, there are so many choices of colors, and you can make so many different shapes and configurations.


Here’s what I did to make the rug:
1. First I decided how large I wanted the rug. I decided I wanted the organic shapes to be big, so the overall rug would need to be large at 108” x 168”. Each Flor tile measures 19.7” x 19.7”. I would need to use 6 tiles wide by 8 tiles long. I measured out a smaller rendering of the squares and started painting colors and configurations to see what I liked. I based my designs and color choices on the Matisse cut-outs. This is the book I recommend purchasing if you like the cut-outs and would like to see more of Matisse’s work. I played around with it a bit to get it right, as you can see and even switched two of the colors and omitted the black. The individual squares made it easy to figure out how many tiles I needed. Here are the tiles I used: Made you Look-Tangerine-4 tiles, Made you look-Persimmon-10 tiles, Rake me over-Sunny-5 tiles, Made you look-Pink-8 tiles, Rake me over-Breeze-10 tiles, Made you look-pearl-15 tiles, Rake me over-Blue Jay-4 tiles, Made you look-Aquamarine-4 tiles, Made you look-Light Blue-2 tiles. I also used a Stanley carpet knife, a pair of Goldblatt utility cutting shears, and a lot of extra flor dots (stickers used to attach the tiles). I also ended up cutting the organic shapes with a band saw, but more on that later.

2. Once I ordered all my tiles and they arrived it was very easy to put them together following my hand made template. I ended up choosing some rugs with a shorter pile and some with a higher pile. I wanted there to be a contrast in depths as well as color. The tricky part for me was to decide what organic shapes I wanted and where they should go.


3. I laid the pearl Flor tiles over the base rug to see what would look best and how much space they would take. After getting them in place where I was happy, I flipped them over and sketched, with a white chalk pencil, the organic coral-like shapes, using the Matisse book for reference. We’ve supplied you with a template to use for your convenience.


4. I then cut the (white) positive organic shapes. This was not too difficult to do with the carpet knife and shears. Remember to cut under a special cutting mat so that you don’t ruin your floor and be careful when cutting with the knife.

5. Cutting the positive shapes with the carpet knife were fairly easy compared to the negative. piecing the first positive shape into the negative took several hours. I just couldn’t get it accurate enough and had to keep cutting either the positive or negative shapes to fit into each other. It also took a while to cut the rounded shapes. I soon decided I needed to find a new solution fast. My husband suggested that we try cutting the tiles on the band saw. The band saw worked perfectly and cut my time dramatically. After cutting the positive white shapes, I placed them where I wanted them on the rug and with a permanent marker traced the shape onto the rug. I ended up cutting most of the positive and negative shapes with the band saw. Amazingly the shapes fit into each other very well. I had to fine tune and adjust a few of them, but very minimally. Cutting with a band saw and utility blade both work really well, it just depends on how much patience you have and what tools you have available.

6. The last step was to attach the FLOR tiles to each other using the FLOR stickers, vacuum and you’re done!

I am really happy with how my Matisse cut-out FLOR rug turned out. It makes such a dramatic, colorful difference in our living space. I also love how soft and plush it is to the touch. My children and dog love it too. I am so glad that I got to reimagine the inspiring Henri Matisse cut-out exhibit in my rug. I hope you enjoy.


This post was done in collaboration with FLOR. Thanks to the brands that keep Lars thriving!
Original article and pictures take thehousethatlarsbuilt.com site
Комментариев нет:
Отправить комментарий